How to Make Ground Beef Jerky in Dehydrator
Jump to Recipe
This post contains affiliate links. As an Amazon Affiliate if you purchase through those links I earn a small commission. Thank you!
If you're looking for an Easy Homemade Ground Beef Jerky Recipe that's Paleo, Clean Eating, MSG-free, Gluten-Free, budget-friendly, AND STILL delicious, look no further, you've found it. This is my FAVORITE homemade jerky recipe!
Ground Beef Jerky Recipe
If you just want a tasty ground beef jerky recipe for a dehydrator this is it. You'll feel good about eating or sharing this beef jerky with family and friends too. Anything you're looking for in a ground beef jerky recipe is right here on this page.
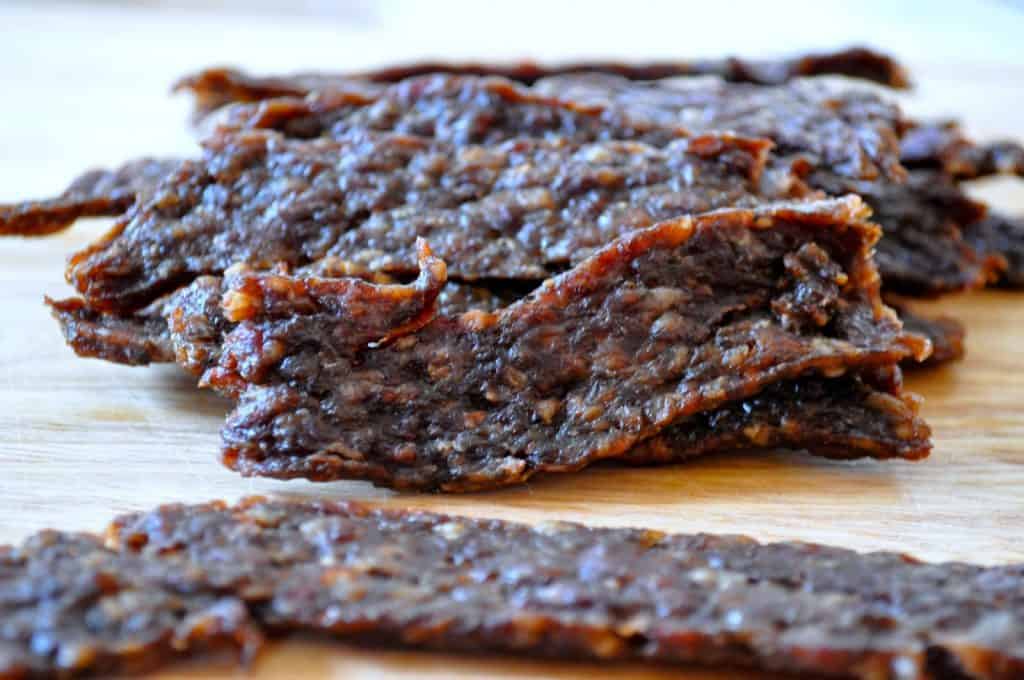
We LOVE Ground Beef Jerky
I'm a huge fan of beef jerky, I love it for the simple fact that it's just a nice chunk of protein that's quick and easy to eat but also satisfying. Lately, the stuff from the store is feeling less healthy and more full of junk than I want to eat, so I set out to find or come up with a beef jerky recipe for something I can enjoy again.
I didn't have to look far, I'd found a recipe a while back, pinned it and I started from there. The spices looked solid and I only had to tweak it a bit for our tastes, and I left out some beef broth.
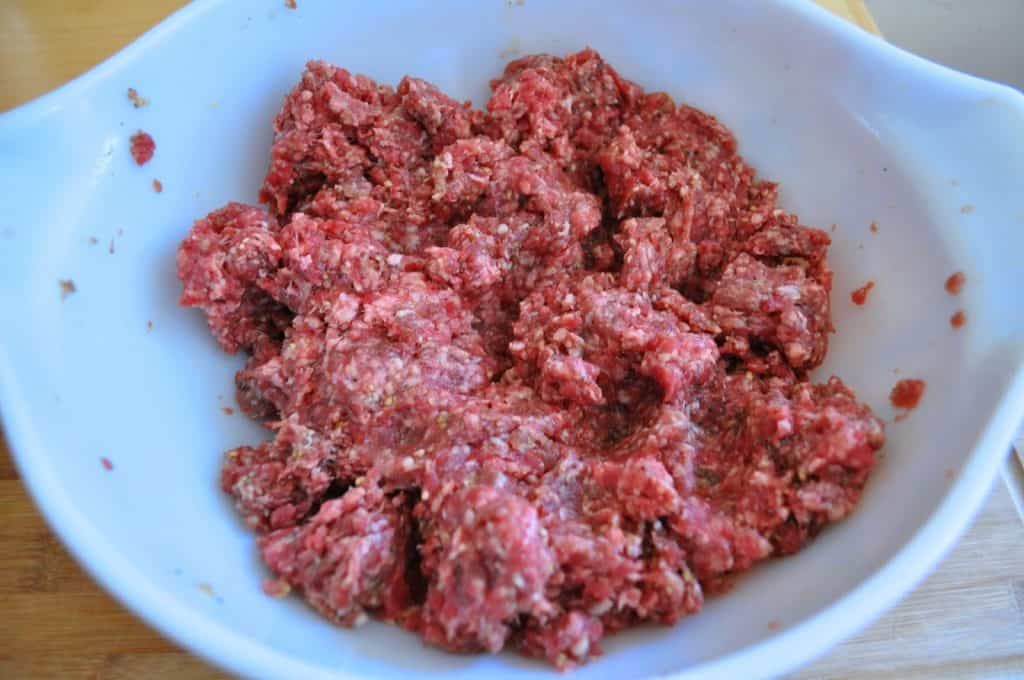
Why ground beef jerky?
I have a couple of reasons for making ground beef jerky:
- I happen to have a lot of ground beef because our beef order came last month. It always feels like so much beef now but we have an entire year to use it up.
- And I bought a dehydrator last fall too, with it came 2 jerky guns. I was like what are these for?? Did some research and never looked back.
- Ground beef jerky is delicious
- It's cost-effective
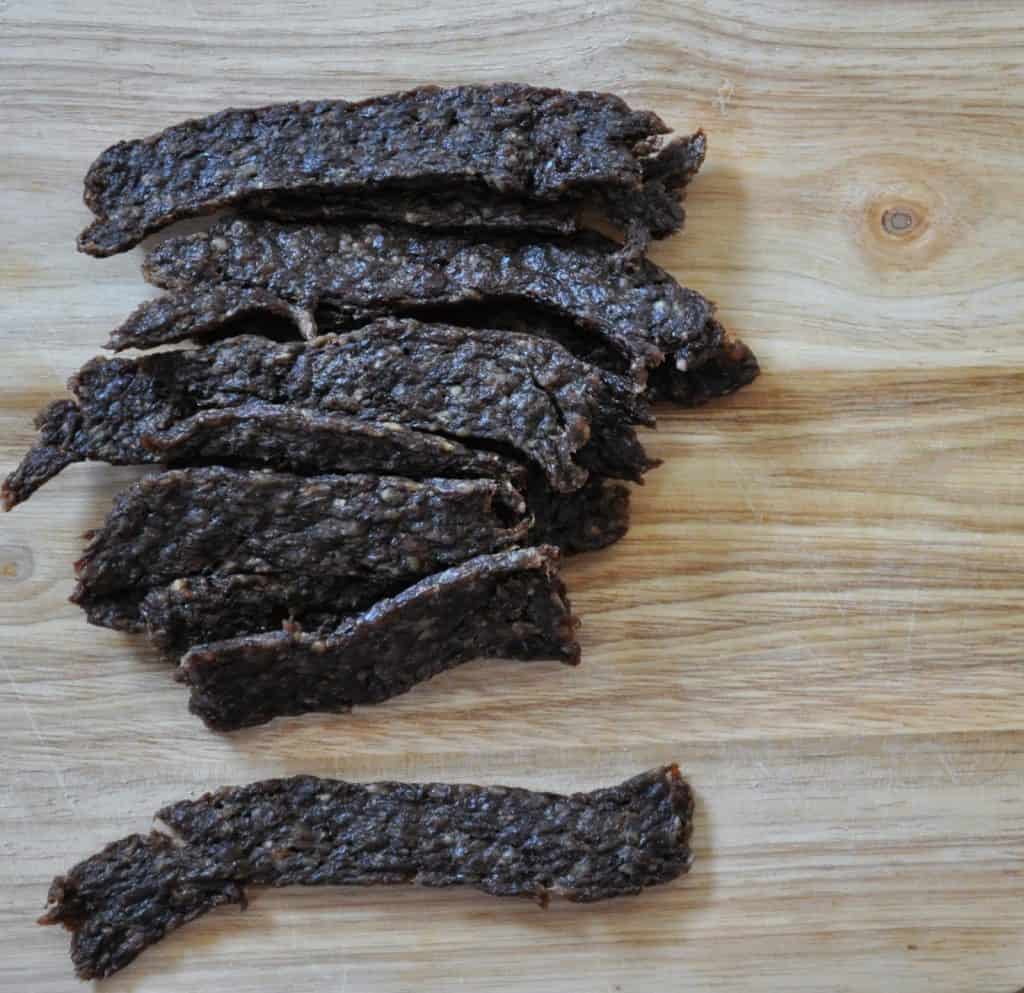
Game Meat Jerky
You can use game meat for this recipe as well. Try Ground Venison or Ground Moose! I bet Elk or even Bison would work too. Any game meat you use is probably going to be lean enough to make in your food dehydrator.
For game meats, the only adjustments you'd have to make will be to the spices. That will depend on your meat and how gamey it is. Keep reading for tips on how to figure out exactly how to adjust your spices.
How to know how much spices to add to your game meat jerky
You can use this method for ANY ground meat jerky. It's a great way to try out spice levels and flavors without adding too much flavor.
What I recommend is starting with some of the spices in the mix. Then cook up a small amount in a frying pan. How does it taste? Remember it's going to get stronger the longer it rests in the fridge.
If it needs more spice, add more and cook up another small bit. Add spices until it's almost flavorful enough. Then figure it's going to get more flavorful after resting. You're recipe testing at this point, so be sure to slow down, taste, take notes and keep working on it.
Ground Beef Jerky Video!
Wondering HOW I made the recipe? Here's my video which walks you through it. And be SURE to watch my video about HOW to load the jerky gun, it's linked below!
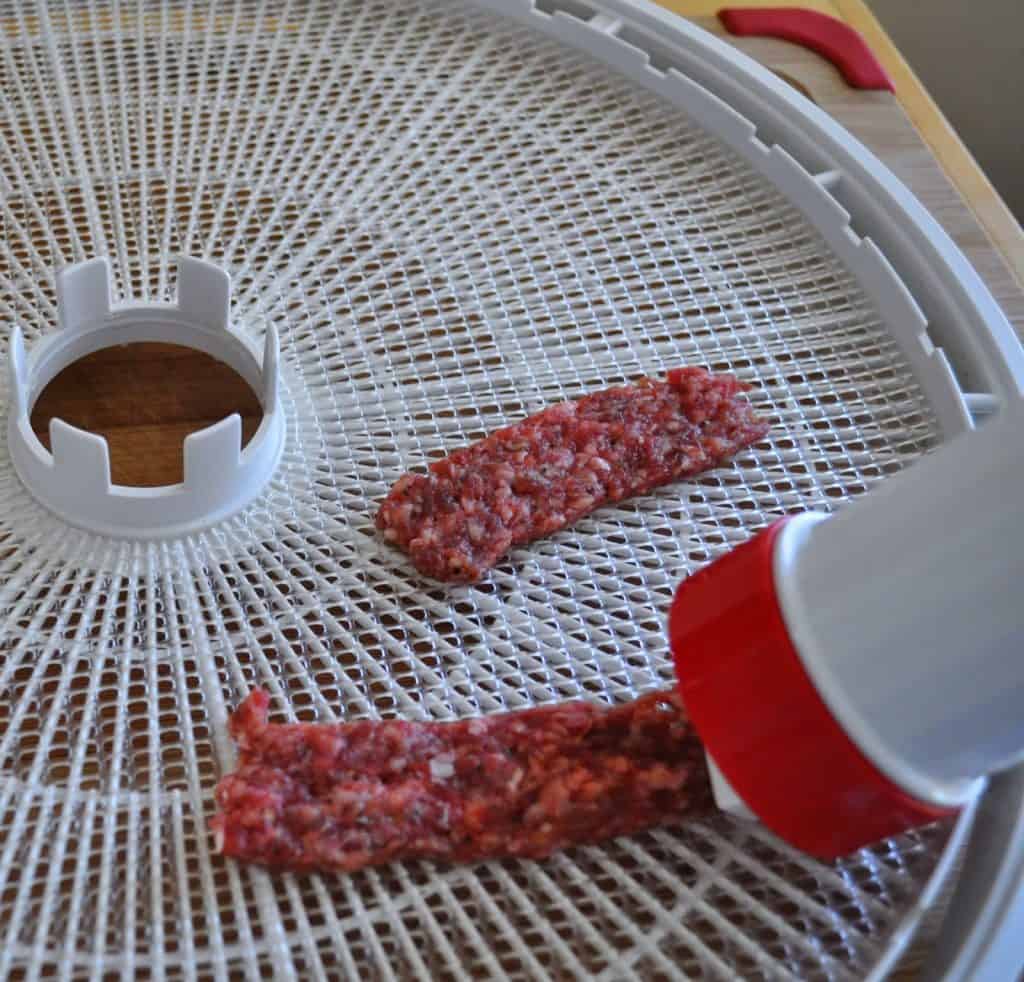

****Looking for help with HOW to load a Jerky Gun? Watch my quick and easy video to learn exactly how it's done!
If you enjoyed this recipe you might like these recipes as well:
Homemade Pepperoni
Spicy Hot Homemade Pepperoni
Rose Hip Ketchup
Homemade Sriracha
Bacon Cheeseburger Meatloaf
Summer Sausage Recipe
Homemade Beef Jerky in the Dehydrator
Air Fryer Beef Jerky
Prep Time 10 minutes
Cook Time 8 hours
Total Time 8 hours 10 minutes
Ingredients
- 3 pounds lean ground beef, the very best you can afford
- 4 teaspoons salt
- 4 teaspoons smoke flavor, can sub smoked salt, if you do skip the regular salt
- 2 1/2 teaspoons black pepper
- 4 teaspoons dried minced garlic
- 4 teaspoons onion powder
Instructions
- break up the ground beef in a mixing bowl
- sprinkle everything on top and mix thoroughly
- refrigerate overnight
- when ready to dehydrate turn the dehydrator on to about 145˚-155˚ full fan
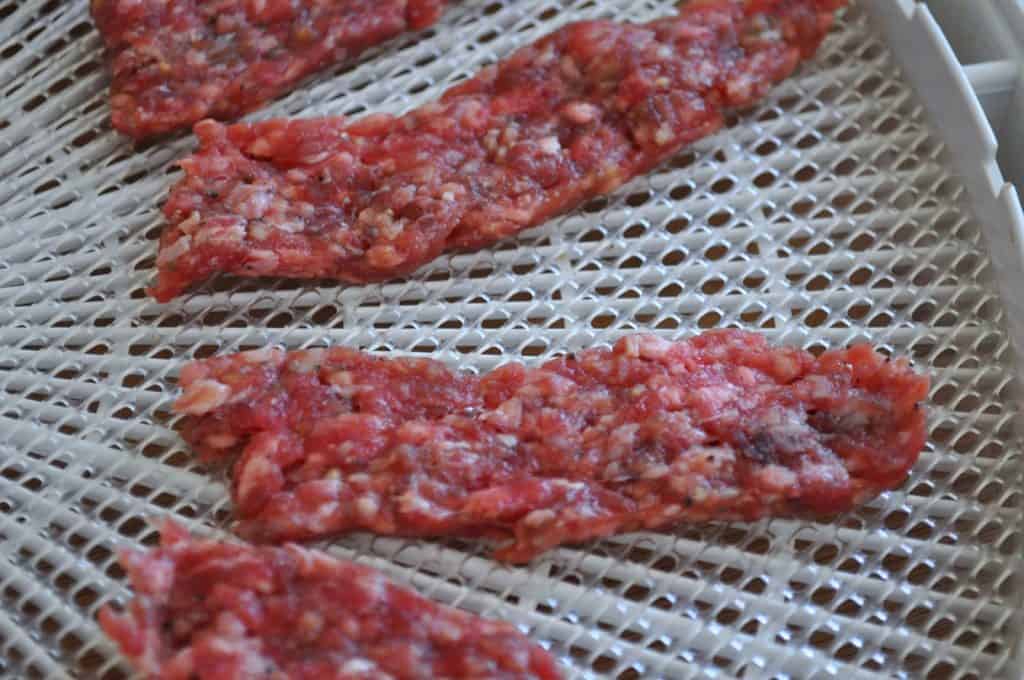
- open the jerky gun, load it with meat, packing it down so it doesn't have too many air bubbles
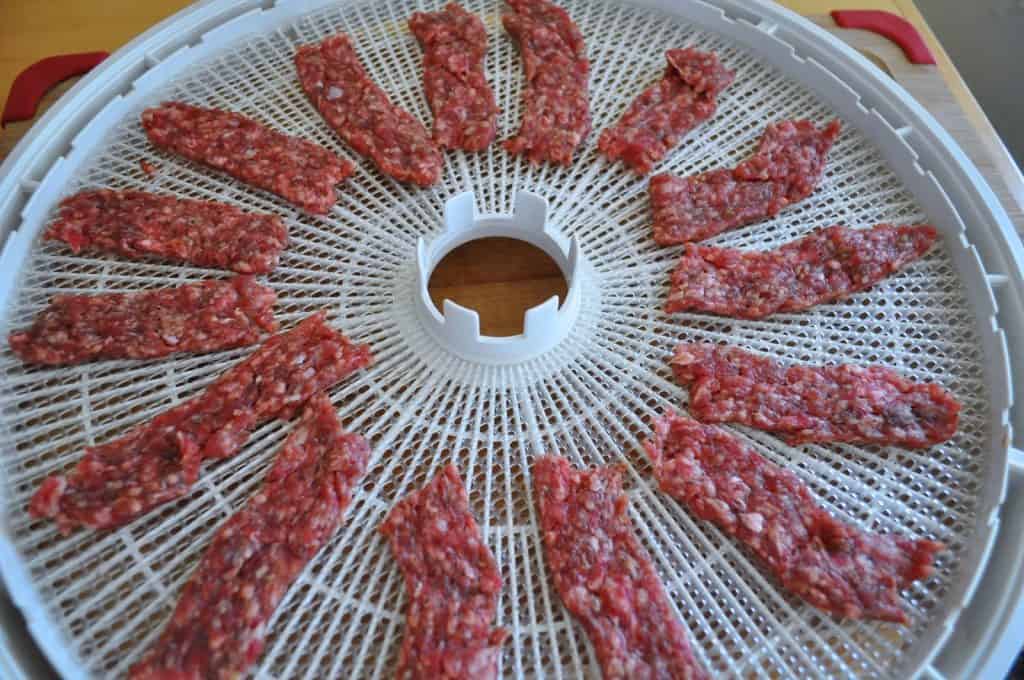
- once filled and ready to go pull the trigger and squeeze out a line of meat
- 2-3 squeezes will make a line about 3-4 inches long which seemed about right for us, your gun may be different and so then will your results
- make them as long as you prefer, I made mine on the shorter side to make packing in lunches easy
- repeat with each tray of the dehydrator, in mine I used 7 of the available 8 trays
- I also put the meat directly on "clean a screen" tray liners not on the actual trays OR the fruit leather trays
- place the trays in the dehydrator and leave them alone for an hour or two then take the bottom tray and move it to the top and viceversa
- continue drying for another 3 hours or so, checking for doneness every hour or so
- to test I picked them up to see how flexible they were, after an hour or two I tried one to see if it was done it was not dried at that point but it was cooked through
- after 4 1/2 hours of total cooking time the jerky was done
- yours in your dehydrator may require more or less time so do plan to make this when you have the time to be flexible
- once the jerky is done wipe off any grease and let them cool depending on how lean your burger is you may need to wipe them off one more time
- store in the refrigerator consume within a week
- or freeze them for longer storage
Notes
- you will need a dehydrator AND a jerky gun both available on Amazon (and those are affiliate links!) and also available in most box stores
- the meat mixture needs to chill over night
- your results will vary depending on the meat you use and the salt level you choose, so plan to be flexible the first time you try this
Nutrition Information
Yield
24 Serving Size
1 servings
Amount Per Serving Calories 134 Total Fat 7g Saturated Fat 3g Trans Fat 0g Unsaturated Fat 3g Cholesterol 51mg Sodium 452mg Carbohydrates 1g Fiber 0g Sugar 0g Protein 16g
This nutrition information was calculated using a computer program, results may vary.
velasquezreackagots93.blogspot.com
Source: https://littlehousebigalaska.com/2015/01/easy-ground-beef-homemade-jerky.html
0 Response to "How to Make Ground Beef Jerky in Dehydrator"
Post a Comment